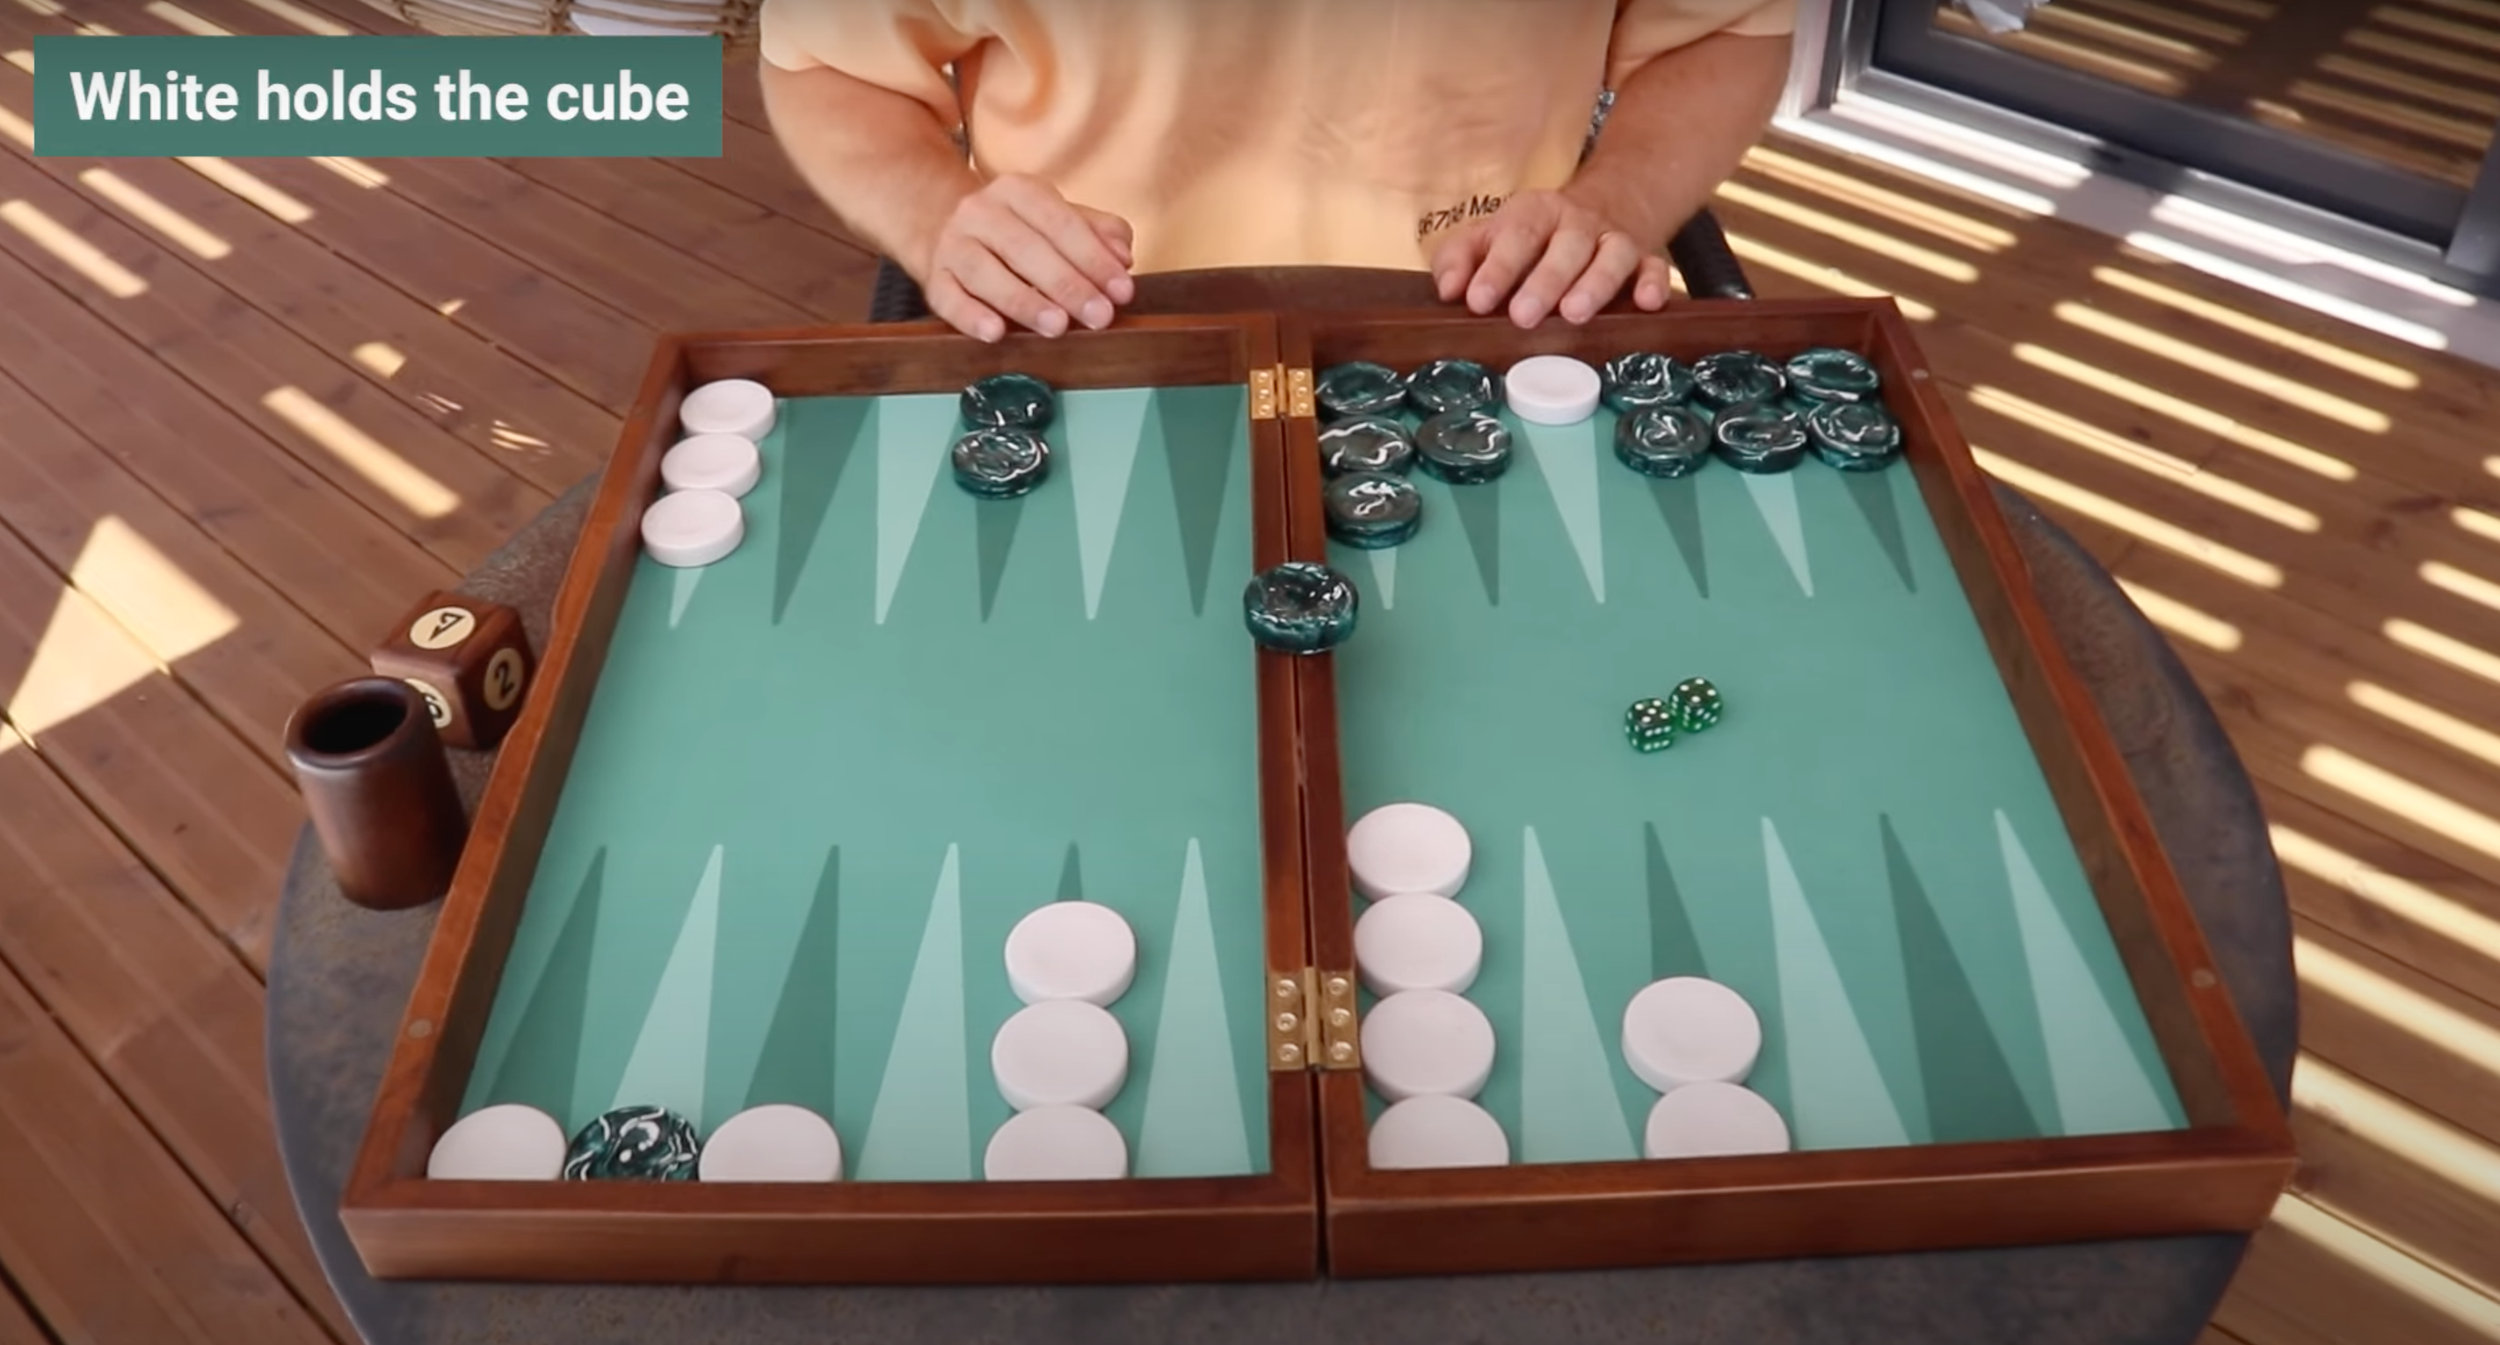
1-Point Match Strategy - Crucial for all Matches
What's up, backgammon nerds? This is Marc Olsen. In this blog post, we're going to talk a little bit about one-point match strategy or double match point, or DMP as we call it.
In one-point matches, there are some strategic principles that differ a little bit from money games or neutral scores and longer matches. Since gammons don't really matter, it's all about just winning the game, which slightly changes the strategy. For instance, it means that the blitz attack as a game plan is less valuable because a lot of the value from the blitz attack comes from winning a gammon. It also means that running plays typically are slightly better than they would be in a money game or at a neutral match score. The priming game plan is very strong, as usual, it always is.
I would say that's the big characterization of one-point match strategy or double match point strategy: the running plays and the priming plays are relatively stronger, and the blitz plays are relatively weak. The impure plays are bad; more akin to a blitz. We want to play pure. We want to end. We also want to go for running games more often.
So let's have a look at a couple of positions here.
Example Positions
The First Position

The first one, you were stuck here in a holding game. I was getting my checkers home, and all of a sudden, I had to leave some shots. So now's your chance to hit, and you rolled a 5-4. You actually have a tough decision because the only way to hit is to come off your anchor, which would be this play:

This play leaves a bunch of return shots because if I can come in and roll an ace or a deuce or even a five, I'm going to hit you straight back, and I have a powerful five-point board over here. So you really don't want to get hit.
In a situation like this, or in this position, had it been for money or at a neutral match score, the hitting play would be incorrect. It would actually be a blunder because there are too many return shots here where you're going to get gammoned. But in double match point, one-point match, losing a gammon doesn't matter. You can actually take the chance and just go big, and make the hit. Even if you get hit back, the game is not over yet because you could get lucky and roll a quick four and then re-anchor.
That's generally the idea in a double match point strategy: you want to be aggressive with these big hits, and you're not as scared of losing a gammon. There's actually a very good old rule of thumb: When you are in doubt in a double match point, play the move that loses more gammon. It's quite remarkable how often that seems to find the best play when you follow this rule.
The Second Position
Let's have a look at the next position here:

We have the cube in the middle. If we're playing a match, we're comparing the double match point strategy versus the neutral score strategy. So the cube would be in the middle in the neutral score, and, in double match point, the cube is not in play. Here you have a 6-4 to play. Had the score been neutral and we were playing with the doubling cube and gammons, the best play here with the 6-4 would be to go for the blitz attack and put green on the bar, make an inner board point. It's also pretty good for a priming game plan. So this would be the best play:

You can hit and make an inner point. It's usually always the best thing to do.
However, if we're playing double match point, this is not the best play here because now you have a very strong running play alternative, which is simply just to come out here:


and make the 18-point. Look at how well-positioned you are here to just win the game. You don't need the gammons; they don't matter. So, actually, in double match point, this is the better play. Just go for a slow running game plan; you don't need to go for the aggressive blitz attack.
The Third Position
Let's have a look at position number three here.

We're playing a late game; I have one man back, and I am ahead 29 pips here. You've got to do everything you can to not let me escape out into a winning race. So you roll the 5-1, and basically, you have two plays here. You can play the quiet one, the prime move, which is this one that makes a nice little four prime:

but it comes with a great risk. The risk is, of course: I roll a five or six and jump out into a winning race. The other play is the super-aggressive loose hit:

Hit loose with the ace and play the 5 down to minimize the shots. This leaves 14 shots from the bar to hit that checker, but the other play leaves 20 shots for me to jump out of your four prime, which is also risky because if I just jump out into a winning race, I'm going to win anyway, just as if I'm the same. Here, I'm going to win if I roll one of the 14 shots.
The Best Play in the Third Position
So, in this position, 14 is less than 20, but the key point here is that when we're playing at double match point, you don't care about the gammon loss. Even though you would lose some gammons every time I roll a four or a one, three, or a double two, I have a closed-in board here, so I would win some gammons. I could even pick up the second point and win gammons, but it doesn't matter. It's all about winning the game. That's why in the case of double match point, the best play is the loose, aggressive hit. It's simply better, the best way to win the game. Take the chance now, try to pacify this back checker here from escaping out into a winning race. See if you can go for a prime or a closeout here, which is the best way to win the game. In a neutral score, this would be a triple blunder. It's a huge mistake to hit loose because you lose way too many gammons with this play. But in double match point, this is the better play. Again, the rule when you're in doubt in double match point, play the move that loses more gammon. It's a pretty good rule of thumb.
I hope you enjoyed this blog post and found it useful!